A new big feature across the platform will be adding tags to categorize, search and filter all the different records you have on the platform.
We are starting by developing tags in your client’s files, and soon after you will be able to tag clients in one or several categories (type, cohort#, status etc).
Tagging helps you quickly filter and find the files by categories that you define. A tag corresponds to a one or two keyword phrase that you define yourself.
Below, you can see the first mock-ups of how it will look like.
1. Tag your Client’s files
All tags that have been added to each file, appears now on the list view of your Client Files menu. You can click on “Show more” or “Less” to manage the amount of tags shown on the list.
If you haven’t assigned tags to a file this section will remain blank.

2. Add tags while uploading a file
When you’re uploading a new file, you have the option to add tags to it, or you can leave this section blank and add them later.

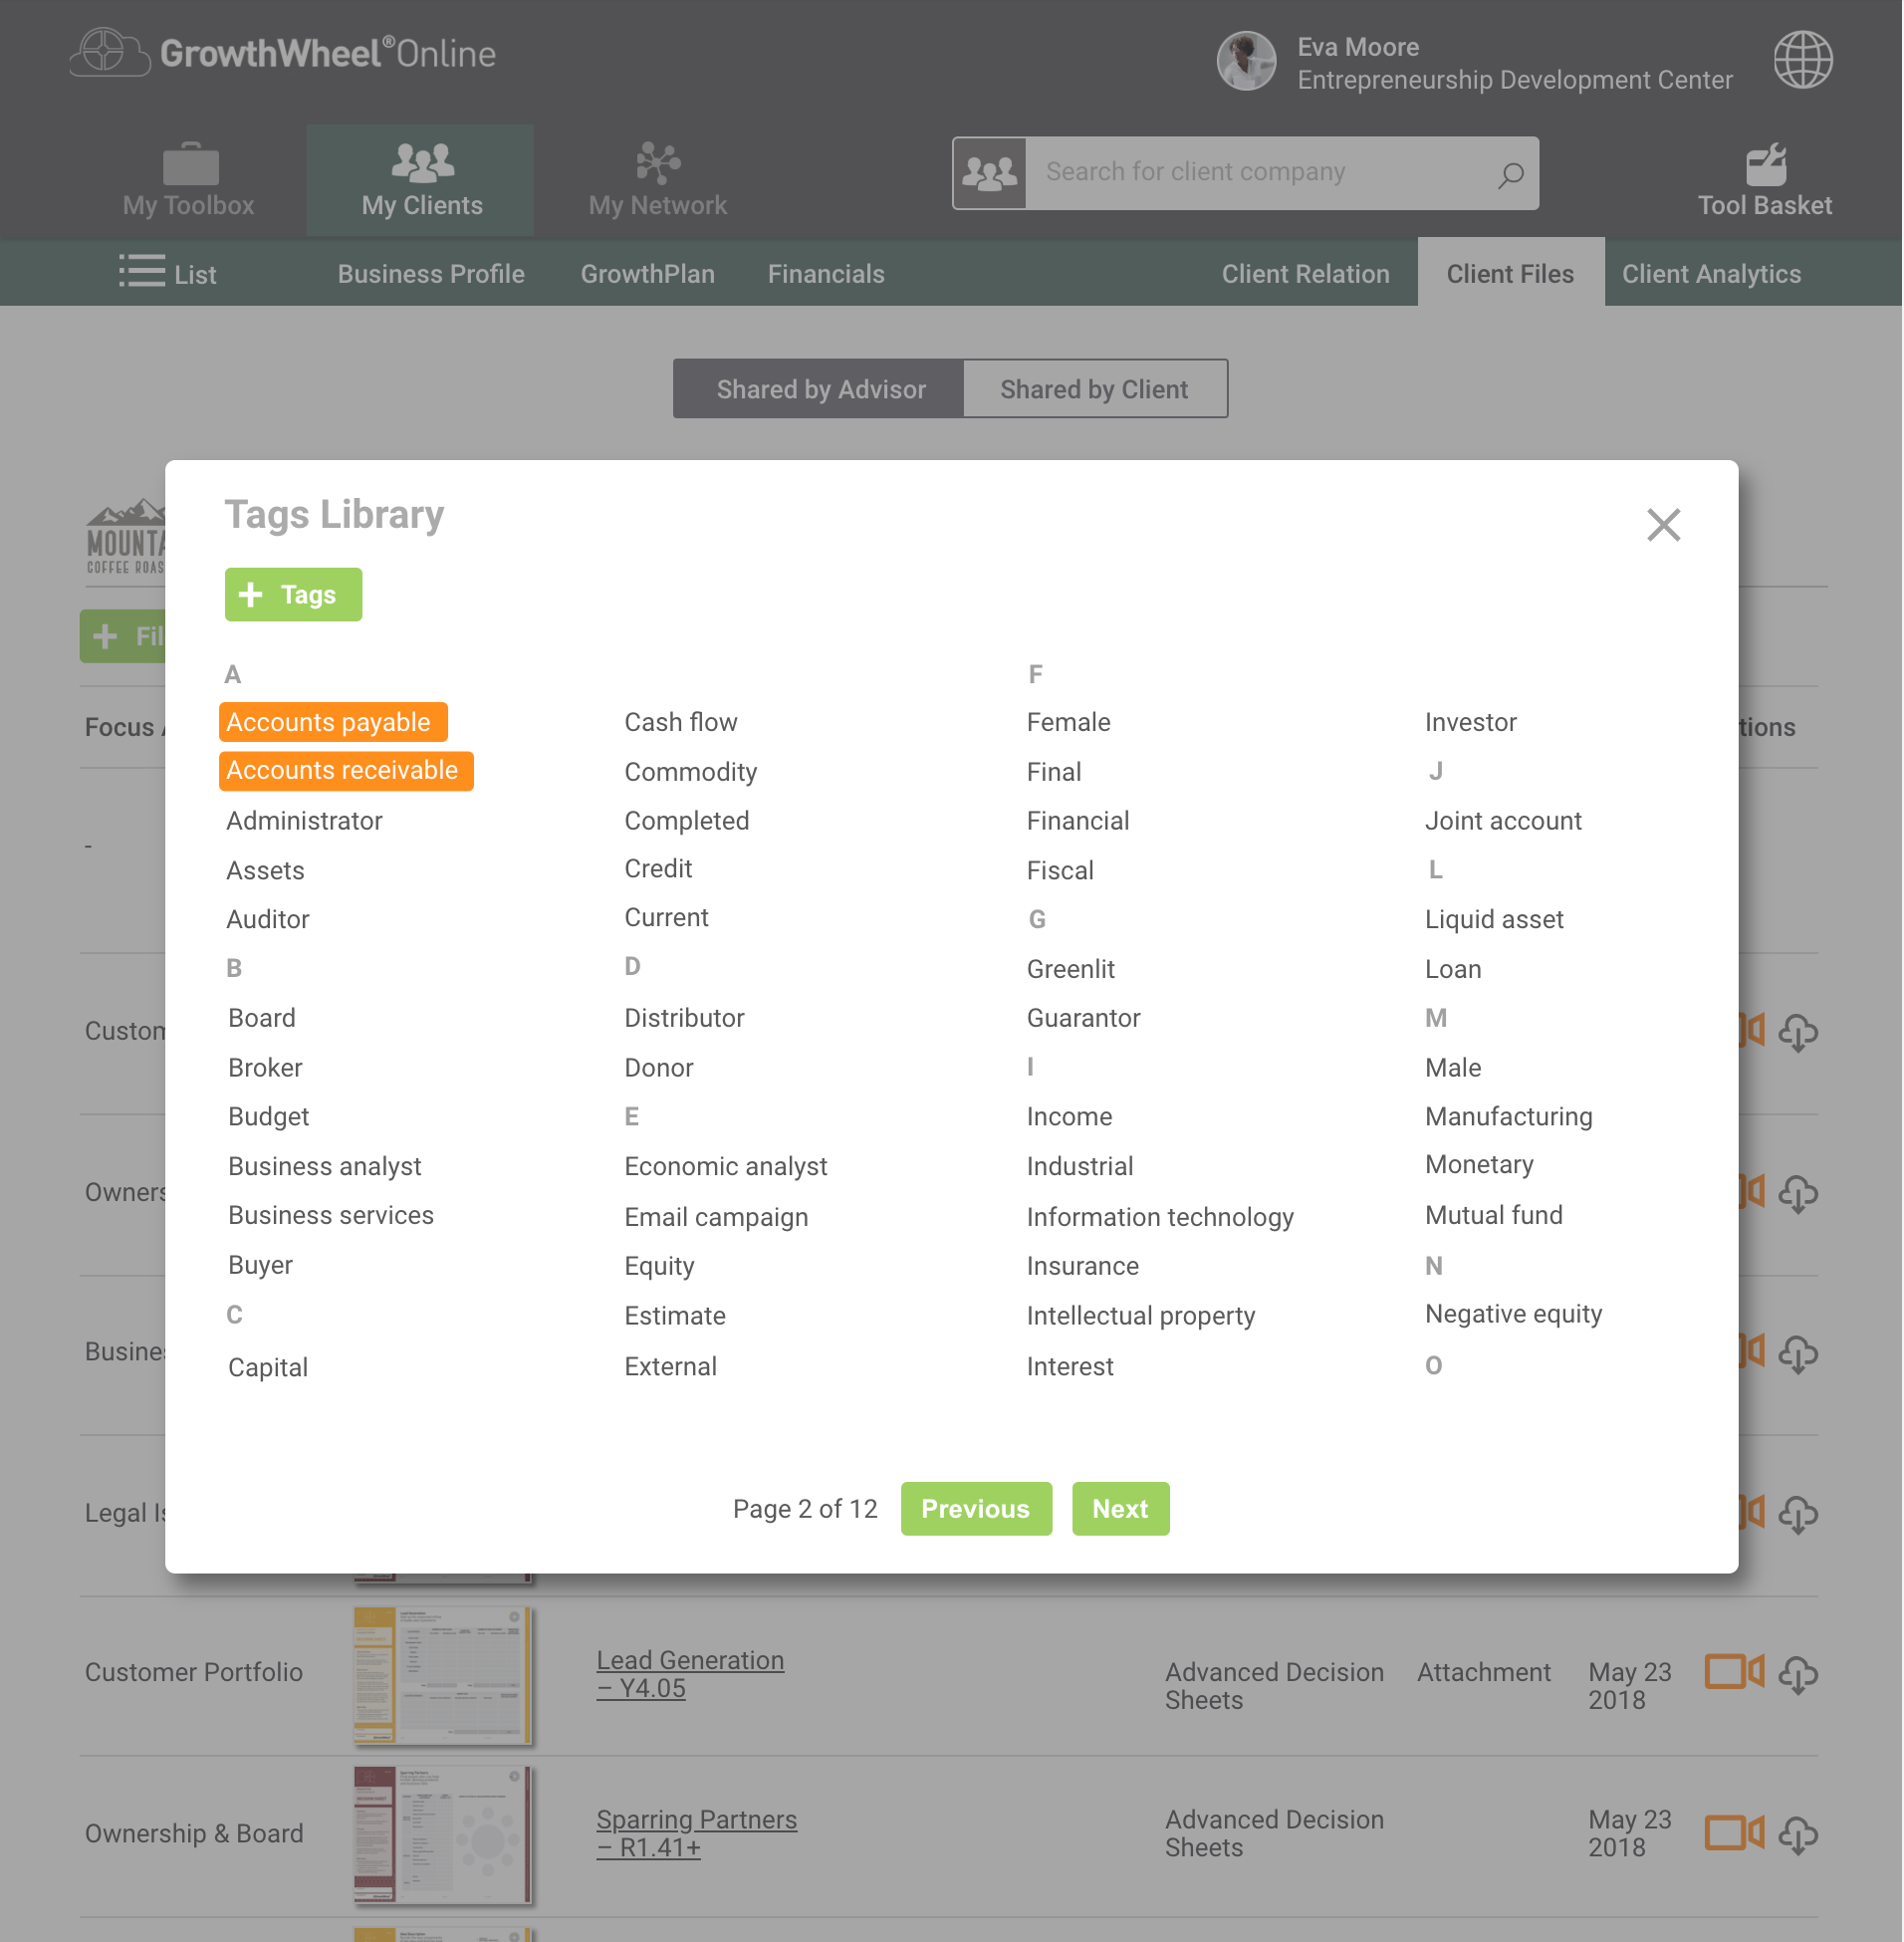
3. Access the Tags library
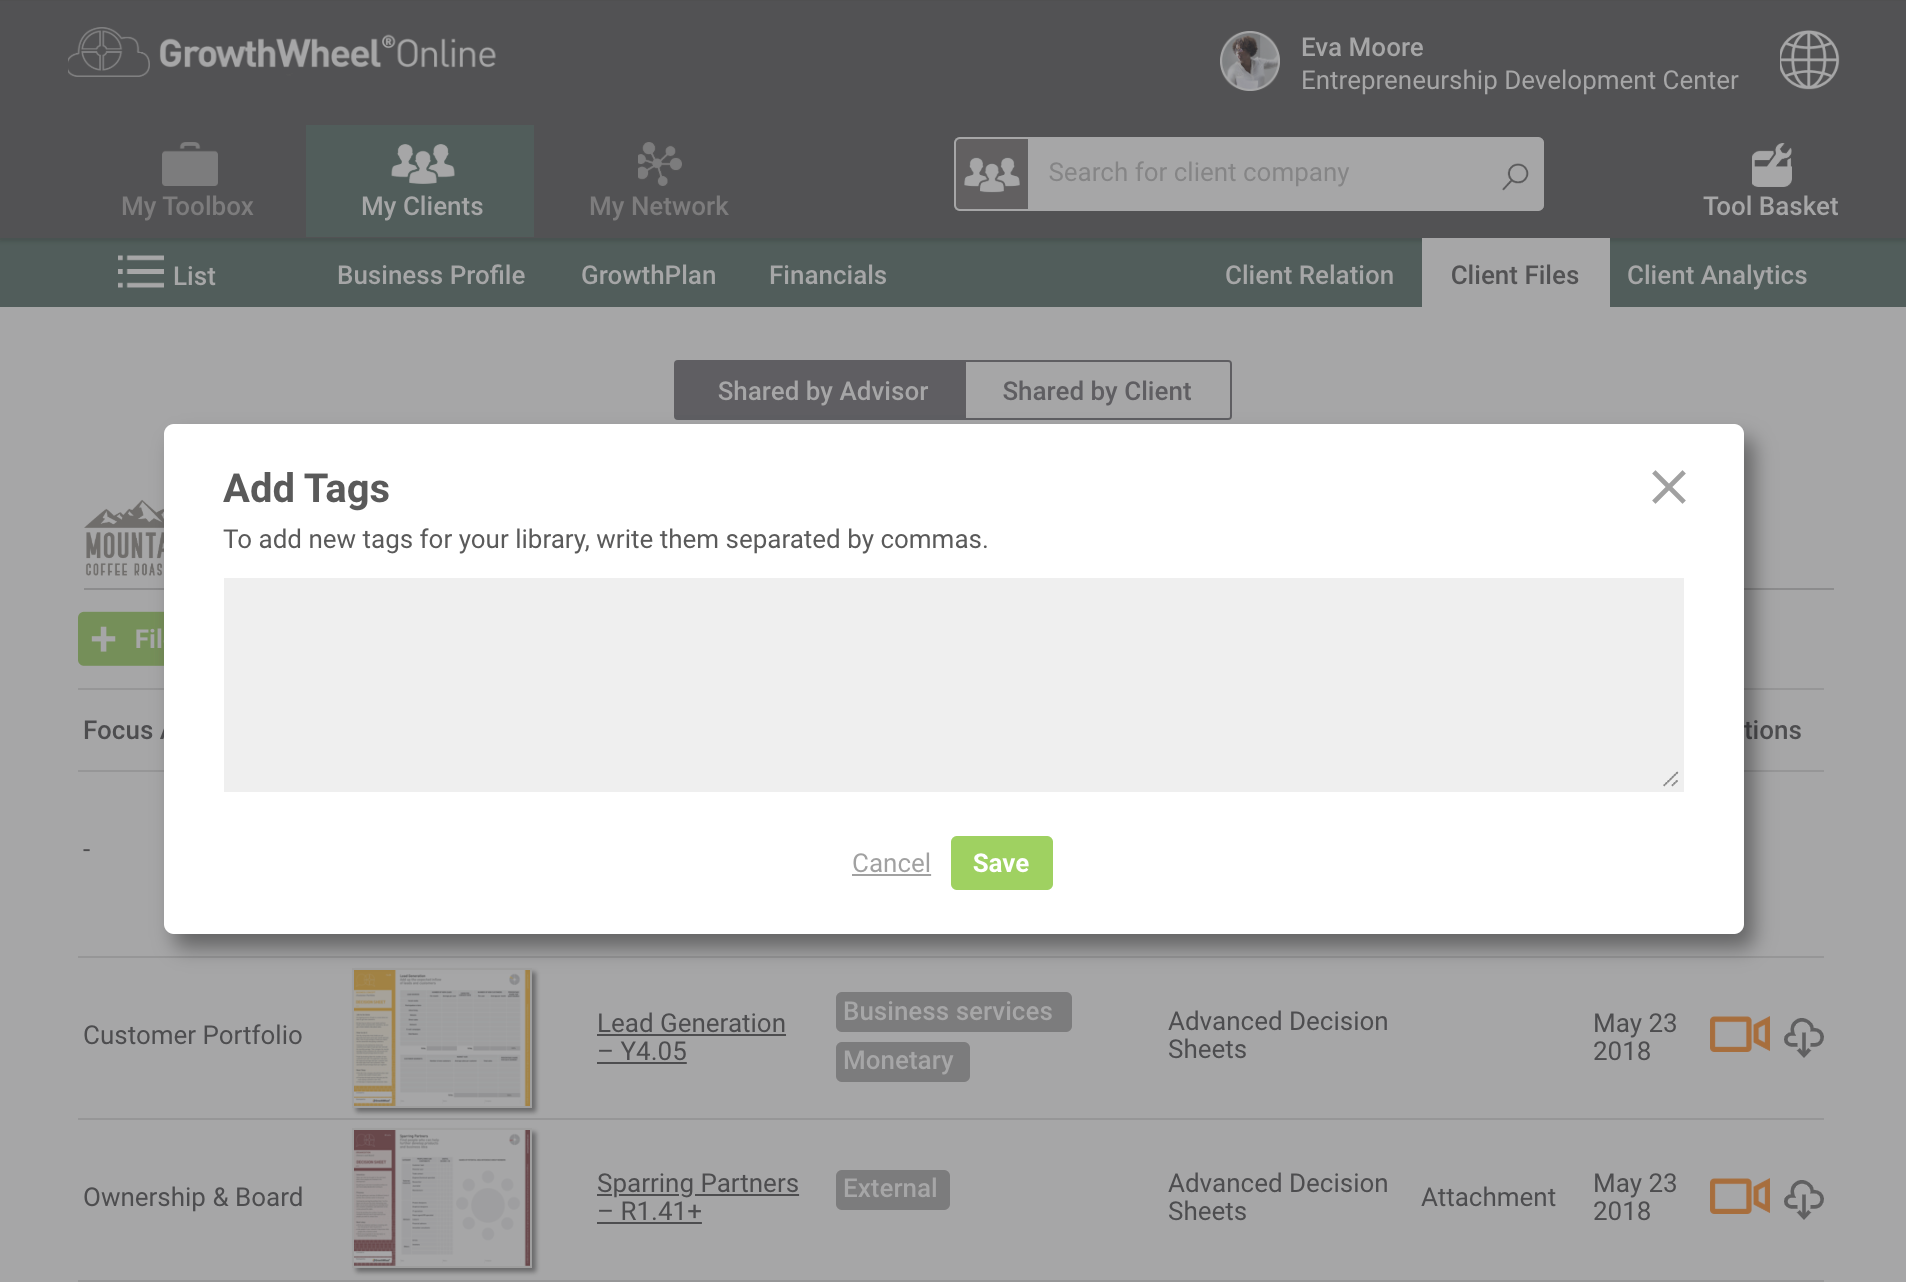
From the Client files page, upload a file and then click on “Tags Library” to add a tag. Choose + Tags and type your keyword, or, select from the list of previously added tags.
You can add, delete and modify tags from this library. To add several tags at one time, type a comma between them.
Tags that appear in orange are already assigned/selected to your file. To unassign a tag, simply click the “X” on the tag while hovering.
4. Now you can filter files by tags
From this same page, you can filter files using tags. Start by clicking the filter icon. You’ll have a search bar which helps looking faster for tags.

Please share your comment below, and take part in the development of the upcoming page.